CSWD Guide to Worm Composting
This guide was adapted by the Chittenden Solid Waste District from various sources. For more information, email our SchoolOutreach Coordinator. Acknowledgments: Information in this…
This guide was adapted by the Chittenden Solid Waste District from various sources. For more information, email our SchoolOutreach Coordinator. Acknowledgments: Information in this…
As Vermont’s largest commercial compost facility, CSWD’s Organics Diversion Facility transforms more than 5,000 tons of food scraps from our community into high quality Green Mountain Compost brand compost and topsoil every year. By turning food into soil…
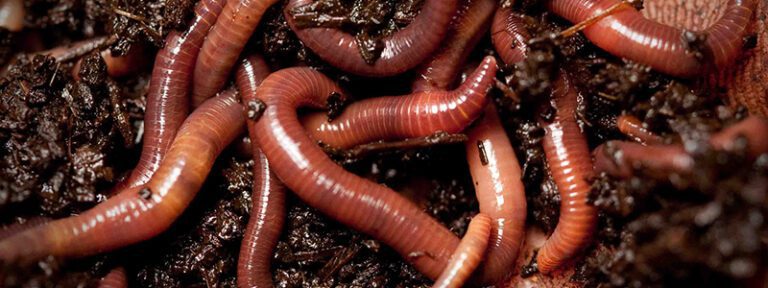
For millions of years, worms have been hard at work breaking down organic materials and returning nutrients to the soil. Worm composting (also known…
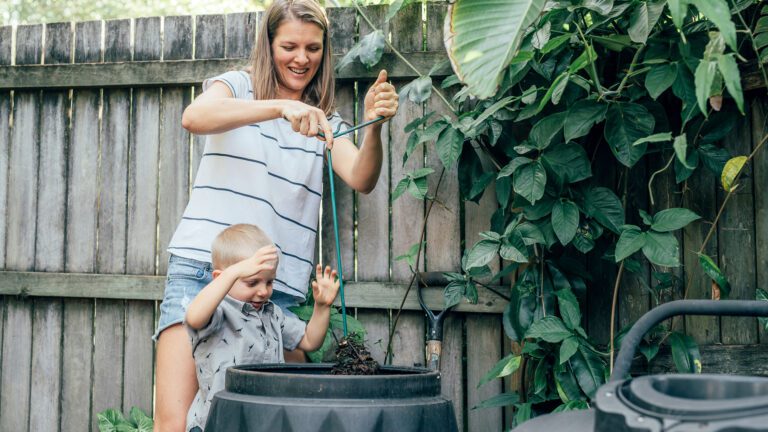
Vermont’s Universal Recycling Law (Act 148) requires food scraps to be kept out of the landfill by 2020. You can easily manage food scraps, yard debris,…
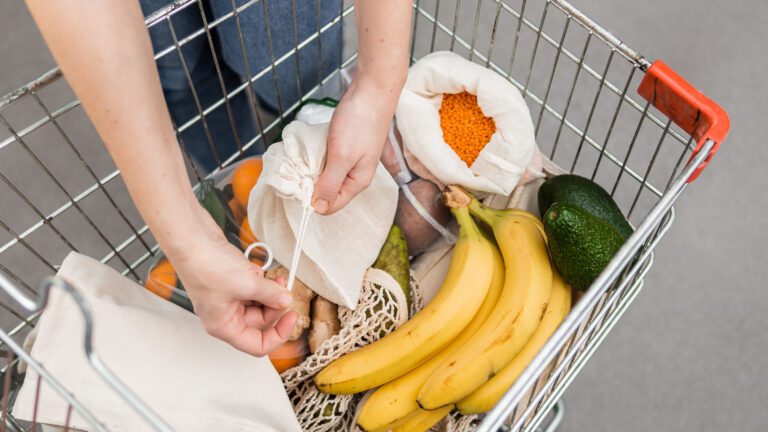
Store Food Better | Donate Food | Feed Animals Did you know that almost one-third of the waste U.S. households throw away in landfills…
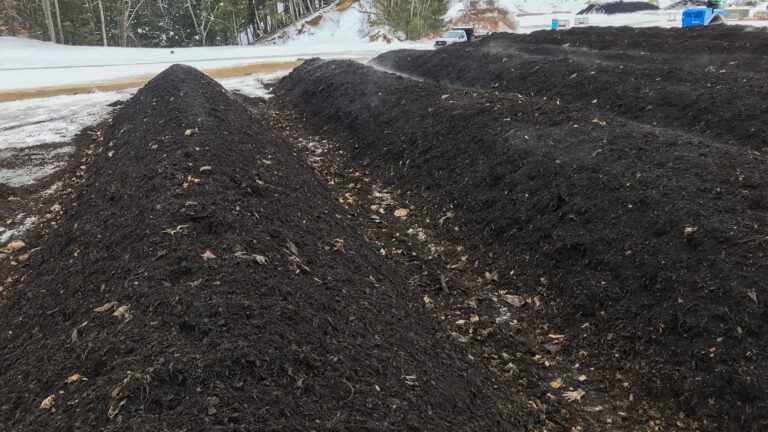
Science, systems, and a whole lot of microbial magic! We make our compost using a process known as static aerated pile composting using local…
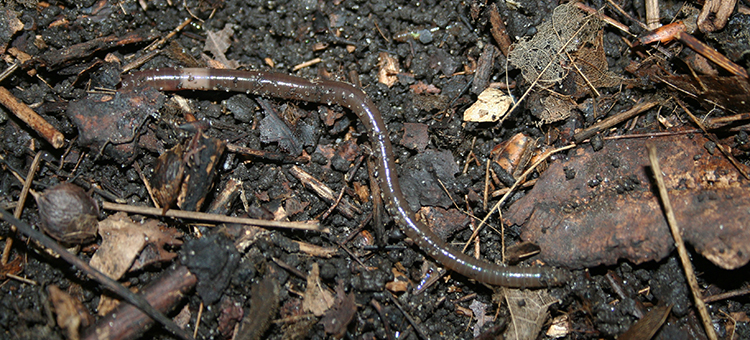
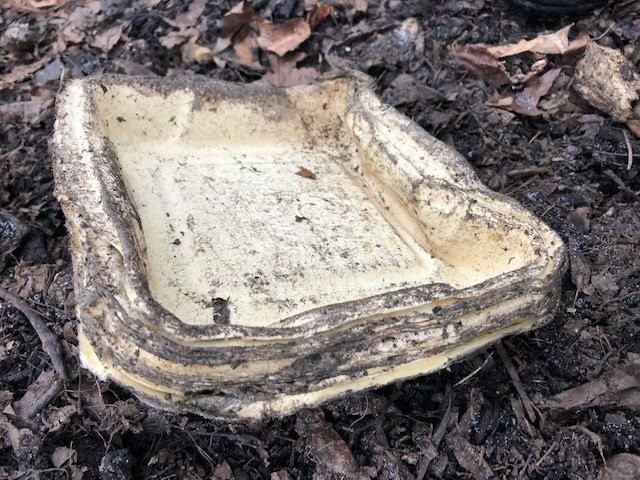
The Problem: Jumping Worms (a.k.a. Snake Worms, Crazy Worms) rapidly consume plants and leaves, taking away nutrients and soil-securing roots, and leave behind loose…
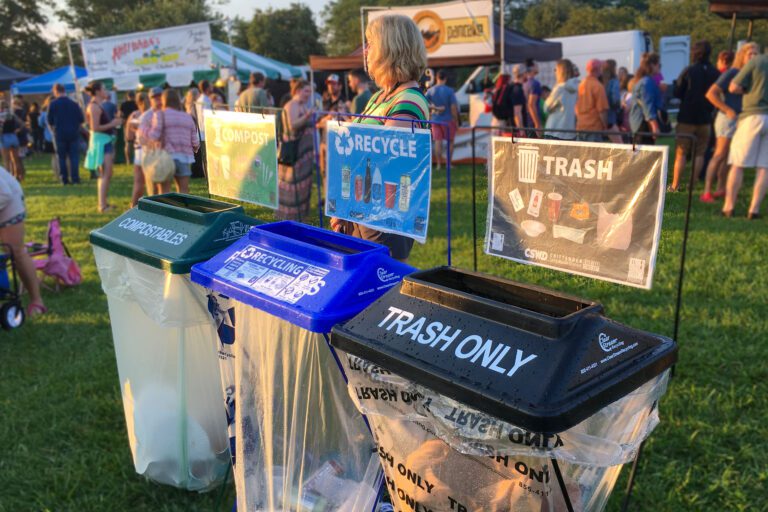
Vermont State law (Act 148) bans all food from the landfill and your trash.Here are your options for how to meet this requirement and…
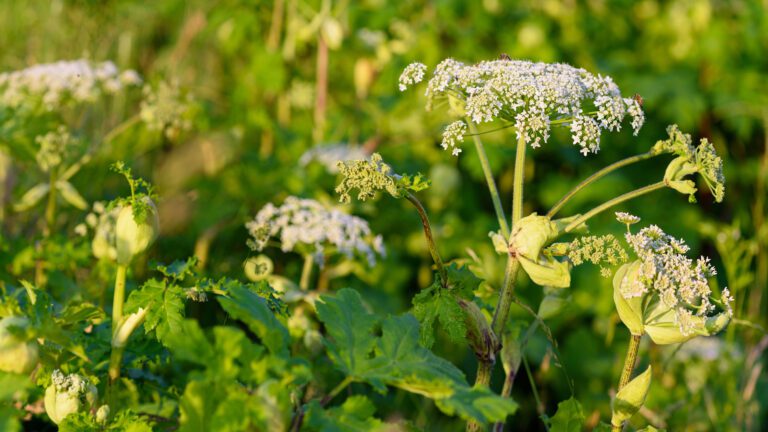
Handle the following with care … then bring them to us for composting! The blossoms of wild parsnip or giant hogweed may add beauty…
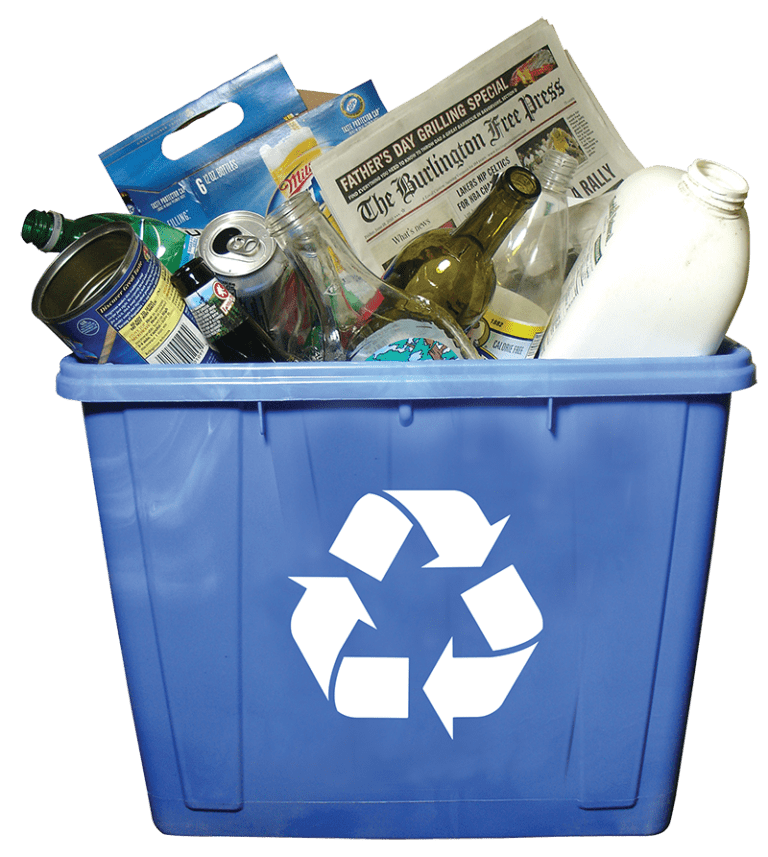
In 2012, the Vermont Legislature unanimously passed Act 148, a universal recycling and composting law that offers Vermonters a new set of systems and tools…
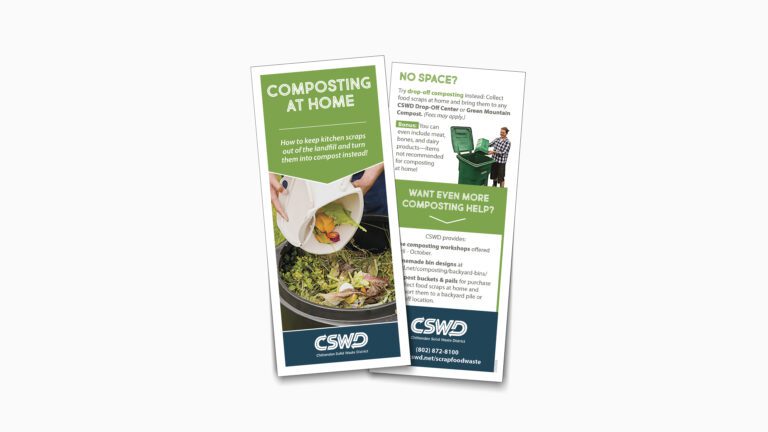
This tri-fold brochure is a step-by-step guide to managing food waste at home to create your own compost. Dimensions: 8.5″x3.75″ Request a hard copy!…
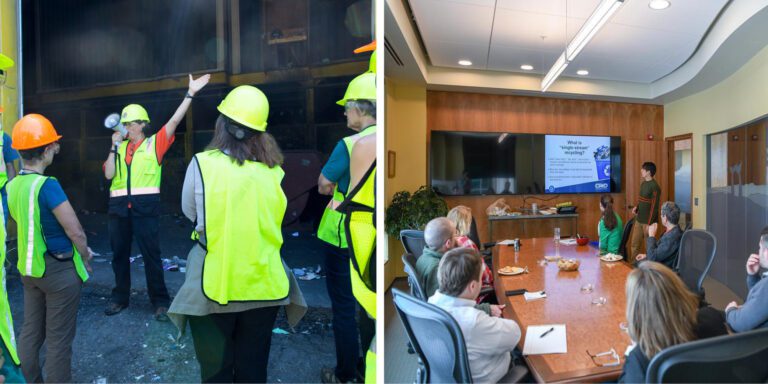
At CSWD, we don’t just operate facilities that collect and manage your trash, recycling, and food scraps. We also lead tours and run training…
Are you a rampant recycler? Do you carry your banana peel home when you can’t find a compost bin? Are you on a mission…
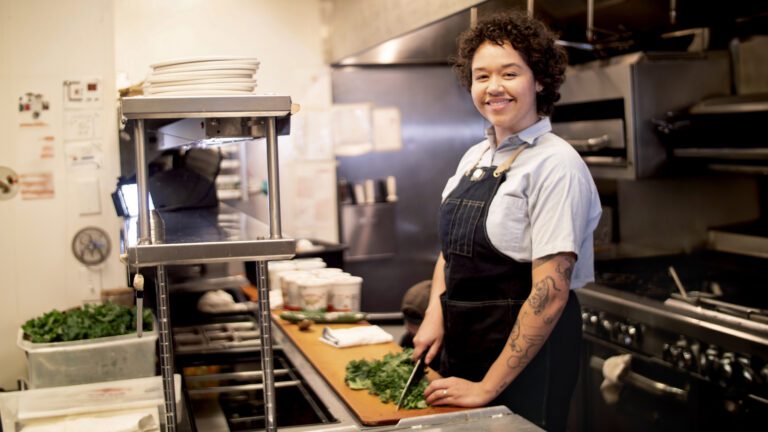
“We’re just a small team trying to do the right thing” – Doing the right thing is one of the mottos that Lisa Bergström,…